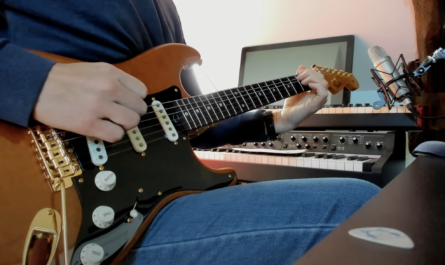
With a mini pedalboard like the MC3 Morningstar (morningstar.io), it is possible to control a plug-in or standalone application on your computer via MIDI over USB.
For example, as a guitar player this allows you to play with your hands on your instrument and use your feet to change the sound. This way you are no longer tied to your computer and mouse to modify your tone: you can do it the “normal” way by stepping on footswitches.
MC3 With Axiom Demo
In the video below you can see how easy it is to control Axiom with such a MIDI controller. It was designed from the ground up to be used “live” with any type of MIDI controller.
To replicate what you see in the video above, simply configure MIDI settings in both Axiom and on the MC3 controller. This will establish the software connection between what you physically do on the MC3 footswitches and whatever action you choose in Axiom (i.e. turn On / Off effects).
Axiom MIDI Programming
Here is an example to activate/deactivate one pedal in Axiom from the controller. First, choose the “Show Control Settings” option to show the little green triangle under each parameter you can control via MIDI:
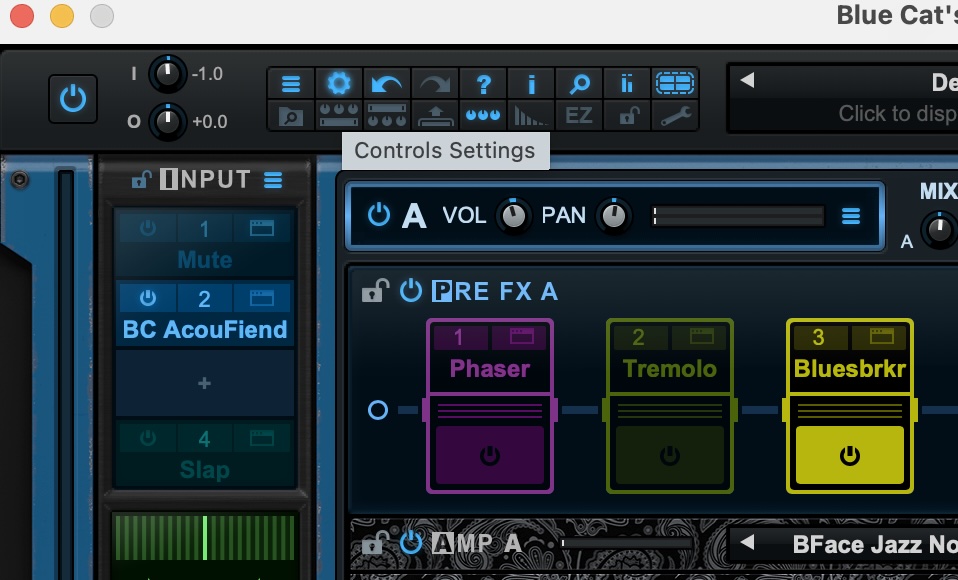
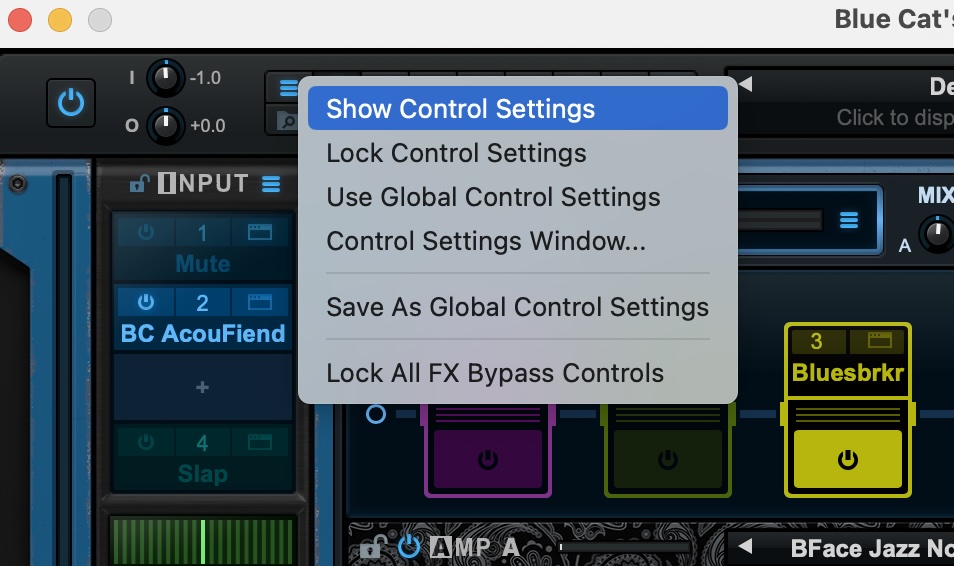
Then select the effect you want to control. In the example below we chose the Bluesbrkr pedal and assigned it Control Change 20 on MIDI Channel 1.

Morningstar MC3 MIDI Programming
For the MC3 Morningstar, all is done via a very well designed web interface you can find at the URL: editor.morningstar.io. Click connect on your hardware and you are ready to go.

In the example below, we can see that Control Change 20 on MIDI channel 1 is chosen to match the setup done in Axiom in the previous step.

This configuration step is required only once for each action.
For a detailed tutorial on configuring MIDI for Axiom you can read this article.