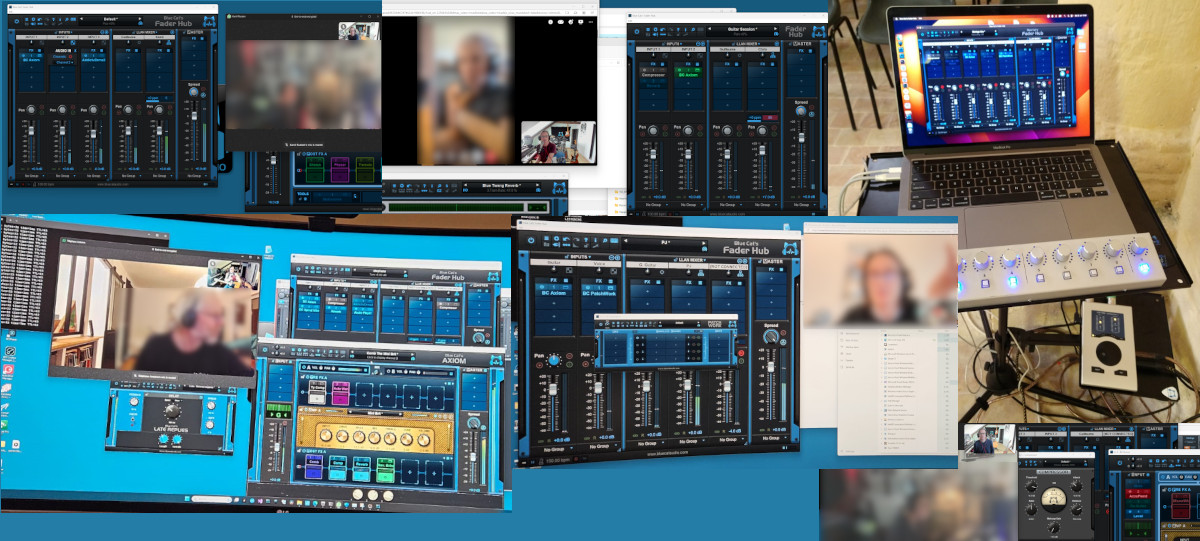
Fader Hub is our network mixing and streaming console software. As such it allows you (among other things) to play music remotely with a low latency. You can see a full presentation of the software on this page.
Here is a step by step tutorial to setup a session to play remotely with another musician through the Internet.
For optimal results:
A fiber optic Internet connection on both sides is recommended
And forget about Wifi, Ethernet cable only!
Overview
- Start a video chat with your correspondent
- Setup the audio connection in the Fader Hub app
- Optimize
Step 1 : start a video channel with your correspondent
Fader Hub will take care of the audio connection only. So if you want to see the other musician(s), you must use another tool to have a video view.
This is not mandatory, but it helps to have a visual cue of what is happening the other side when you are playing. And it’s more fun to see each other too!
Any video capable tool will do the trick here :
- Facebook Messenger video
- Skype
- Zoom
- Facetime
- (Imagine your favorite video messaging app here)
To setup the Fader Hub connection, it also helps to have a way to communicate with your correspondent before the real time audio connection is established thru Fader Hub.
You can do it by phone or on a computer or prepare everything upfront by email, but we recommend having a direct video chat on your computer so that you have instant feedback, and all the communication is done in one place (and you can also share your screen if needed or record a video of your performance).
Step 2 : setup the audio connection in Fader Hub
To get the best results, you should connect your computer to your Internet router with an Ethernet cable. Wifi is way too unreliable and has too much latency for high quality real time audio.
2.1 Launch Fader Hub
Launch the Fader Hub app on your computer.
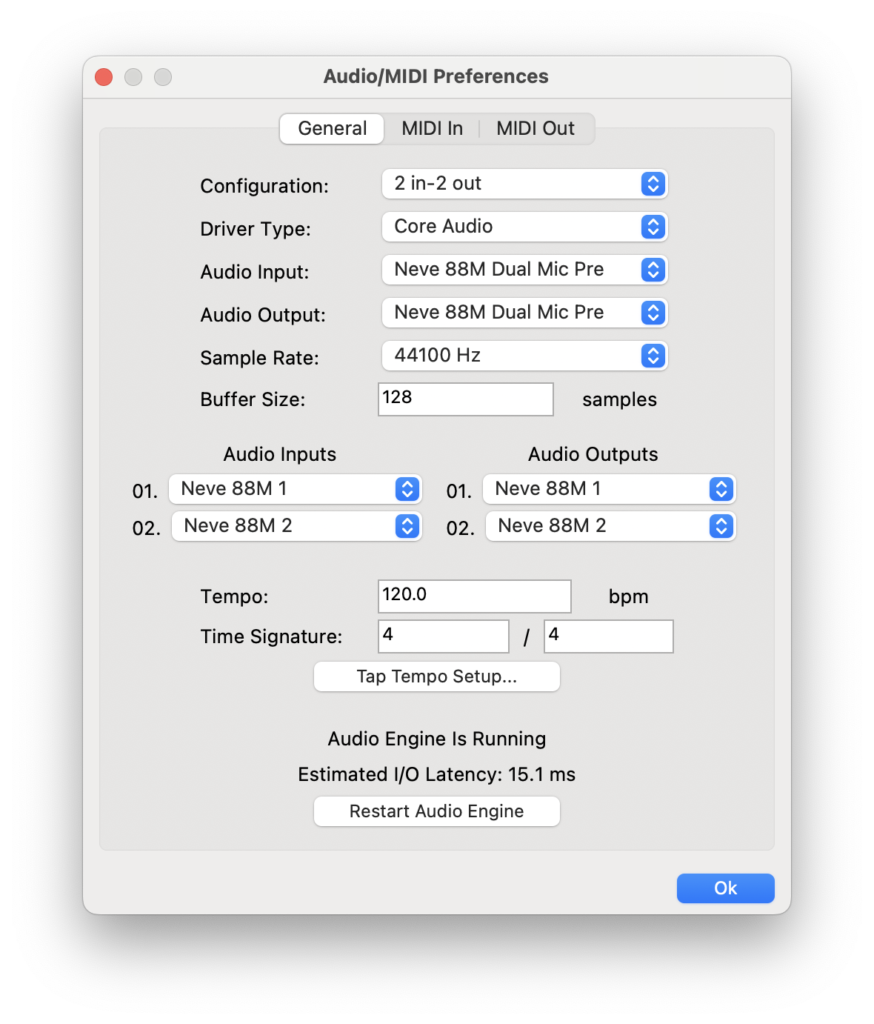
Configure your audio interface in Fader Hub: we recommend connecting your instrument on one channel, and a microphone for your voice on another channel. Even if you don’t plan to sing, it will be easier to communicate this way.
Tip: use the same sampling rate and if possible similar buffer sizes on both machines
as it will help reduce the latency of the communication.
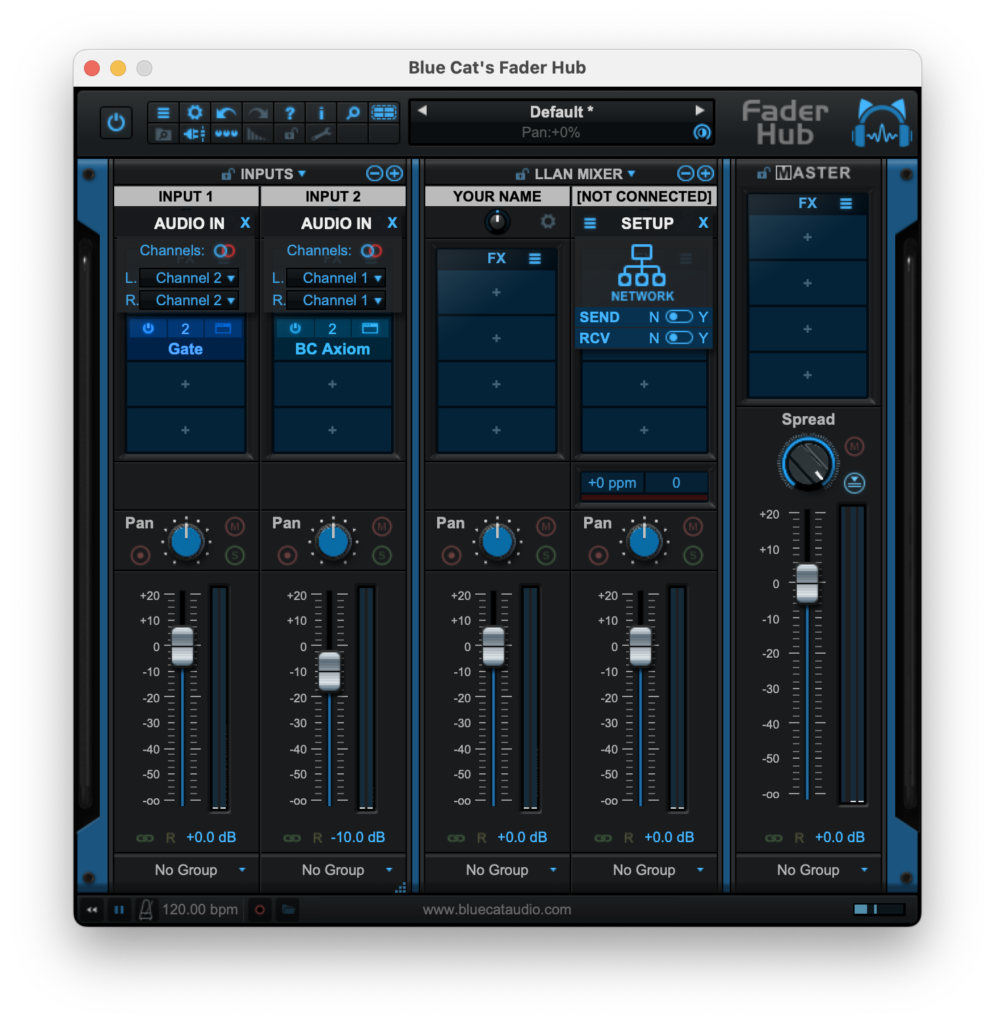
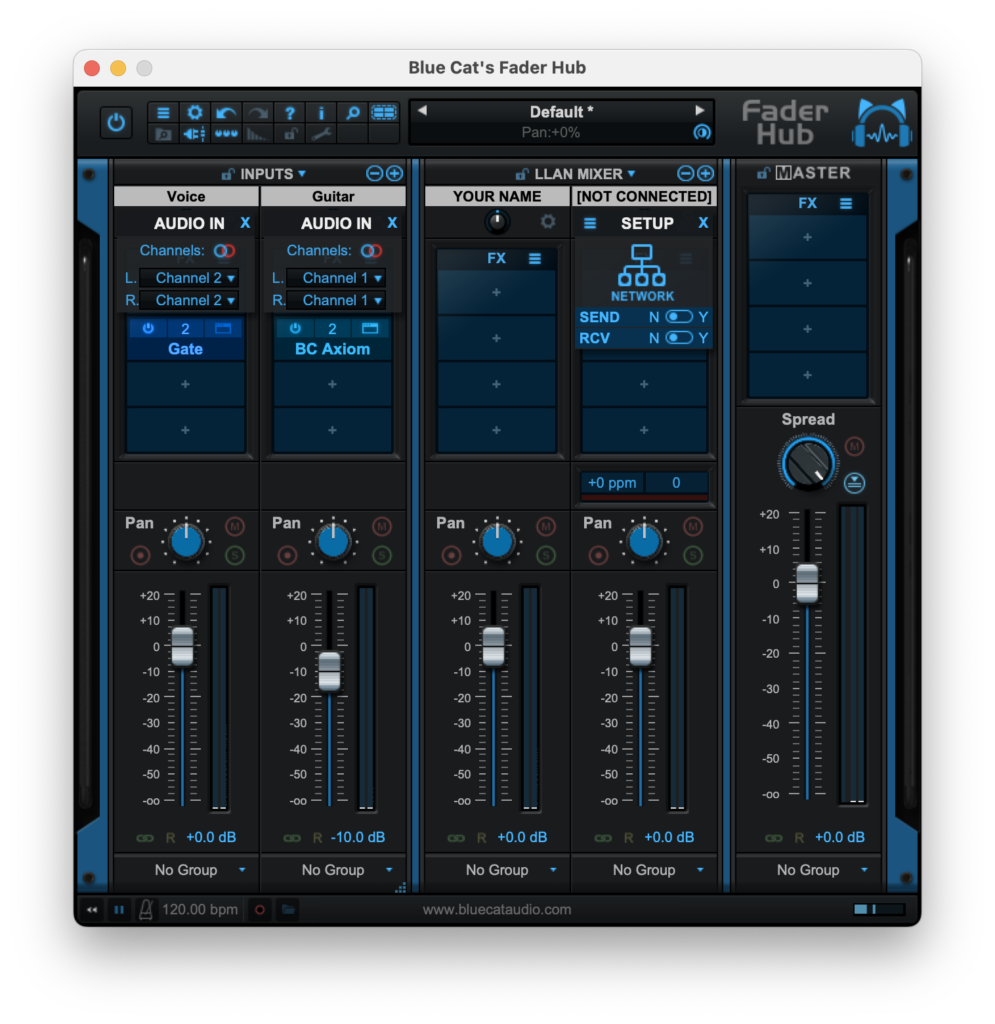
2.2 Toggle RCV from N to Y
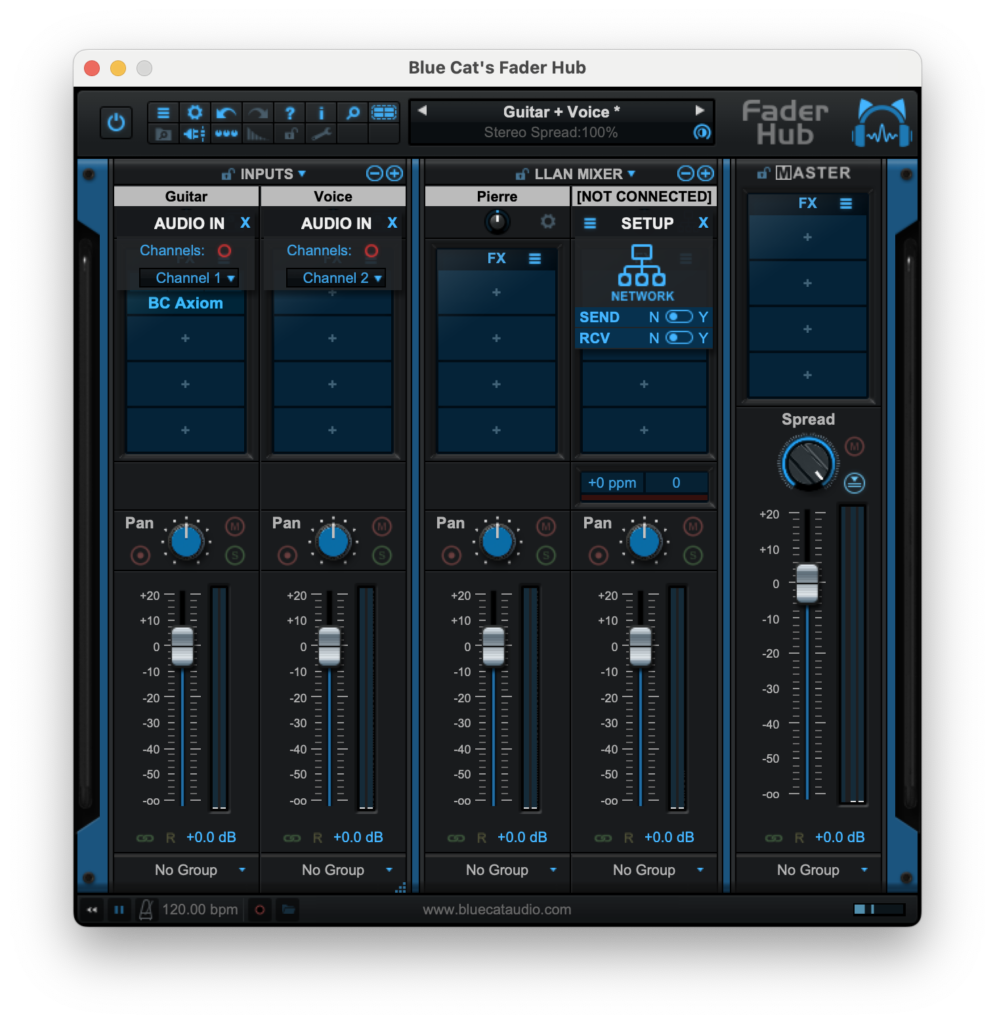
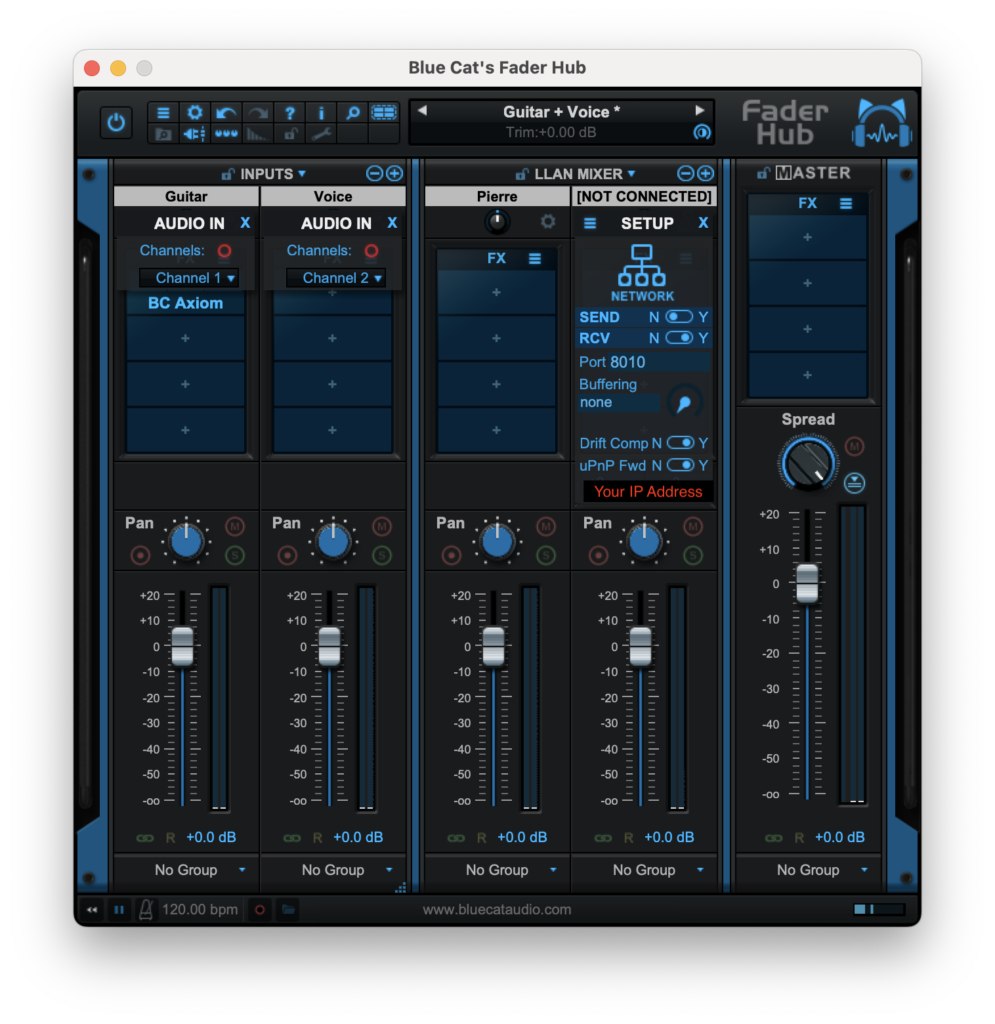
2.3 Set a Port number to receive date from your correspondent
Example in the print screen below the Port number is set at 8078.
Note that this Port number can be different for you, especially depending on the port range allowed by your Internet provider.
2.4 Toggle uPnP Fwd from N to Y
At this moment, Fader Hub will use the uPnP protocol to get your IP address automatically from your Internet box. If all goes well your IP address should be shown below the uPnP Fwd toggle switch. Your IP address will be in this format: aaa.bbb.ccc.ddd
IF YOU DON’T GET AN IP ADDRESS: it means that your Internet box does not support uPnP or it is not activated or the port number is not supported
IN THAT CASE: you can either try another port number, check the uPnP on your box (see your Internet provider) or get your IP address manually
To get you IP address manually: type “IP address” in your favorite search engine. You will have a list a many free online tools which will give you the info instantly.
Please note that the IP address needed is a public one. It is different from the local IP address your computer uses to connect to your home router which is probably of a format like 192.168.x.x. This local IP address will NOT work in Fader Hub.
2.5 Give your IP address to your correspondent
Your correspondent needs your IP address in the format aaa.bbb.ccc.ddd to establish a connexion in Fader Hub with you. You can give the IP address vocally through your videoconferencing tool (Zoom, FaceTime, etc.) or by type it in the tchat session if you have one opened.
2.6 Toggle SEND from N to Y
This will allow Fader Hub to send data through your Internet connection.
2.7 Put the remote IP address from your correspondent in the IP field
See purple text in the image below.
Your correspondent must give you his IP address vocally or through the chat.
2.8 Set the Port number to the one given by your correspondent
In order to receive the audio from your correspondent, you need to set a Port number to the one set by your correspondent.
In the photo below, the Port number is 8078. The Port number could be the same as the sending port number but for ease of setup, it is recommended to choose different numbers.
2.9 Click on YOUR NAME and type your name
By clicking on YOUR NAME in Fader Hub, you can change the name that your correspondent will see once the connexion is established so that you can easily be identified.
In the images below YOUR NAME has been changed to Pierre.
Your correspondent should follow the same procedure on his/her end.
2.10 Increase Buffering if needed
At this point your correspondent name might blink. This is normal, it means the receiving buffer has to be increased.
It is a good idea to put a Buffering parameter which is a multiple of your audio interface buffer. Example: if you audio interface buffer is 128, you can try 256, 384 or 512 in the Fader Hub Buffering parameter.
For example : 768
YOU CAN INCREASE THE RECEIVE BUFFERING PARAMETER UNTIL THE CONNEXION IS STABLE
2.11 Play
At this point you should have a high quality audio connection with your correspondent so you can mute the sound in your video tool (Facebook Messenger, Zoom, Skype, etc.).
In fact, as Fader Hub is way faster than the video tools to process audio, the sound you will hear in our software will to be out of sync with the video sound. This is totally normal. Not every software can process as fast as Fader Hub. 🙂
Step 3 : optimize
Here are the three options you have to fine tune the audio quality in Fader Hub:
3.1 Buffering parameter
In case of audio dropouts you can increase the reception buffer size in the Buffering parameter to a multiple of your audio interface buffer size.
Example: 768 in the image below.
3.2 Audio Compression level
You can also change the audio compression level to improve the connection.
By default it is a the Lossless level:
3.3 Data Packet size
Change the Packet size to a multiple of your audio interface buffer size.
For example to 256 in the image below:
Additional infos
You can save all your settings so you don’t need to go through the whole process again next time you jam with the same correspondent:
Note that you can establish connections with more than one people! In fact it is possible to play music easily with 3 people of more in Fader Hub.
For detailed instructions on how to setup your Internet box connection, you check out this blog post.
You can have an evaluation of the latency between you and your correspondent by doing a mouse-over the Network icon. This will give you a value that you need to add to the Buffering value.
In the example below the total estimated latency is 24.2ms = 6.8ms + 17.4ms.
To record your jam session, you just need to click on the red circle in Fader Hub:
Enjoy!

